
Quick Start Guide
This document is designed to help new users quickly understand and complete their first purchase, configuration, and basic management of a VPS. You will be able to complete the entire process of owning a remotely accessible VPS within 15 minutes.
Prerequisites
Have a registered VMRack account.
Purchase & Configuration
Visit the VPS Product Page and click Get Started to enter the VPS purchase page.
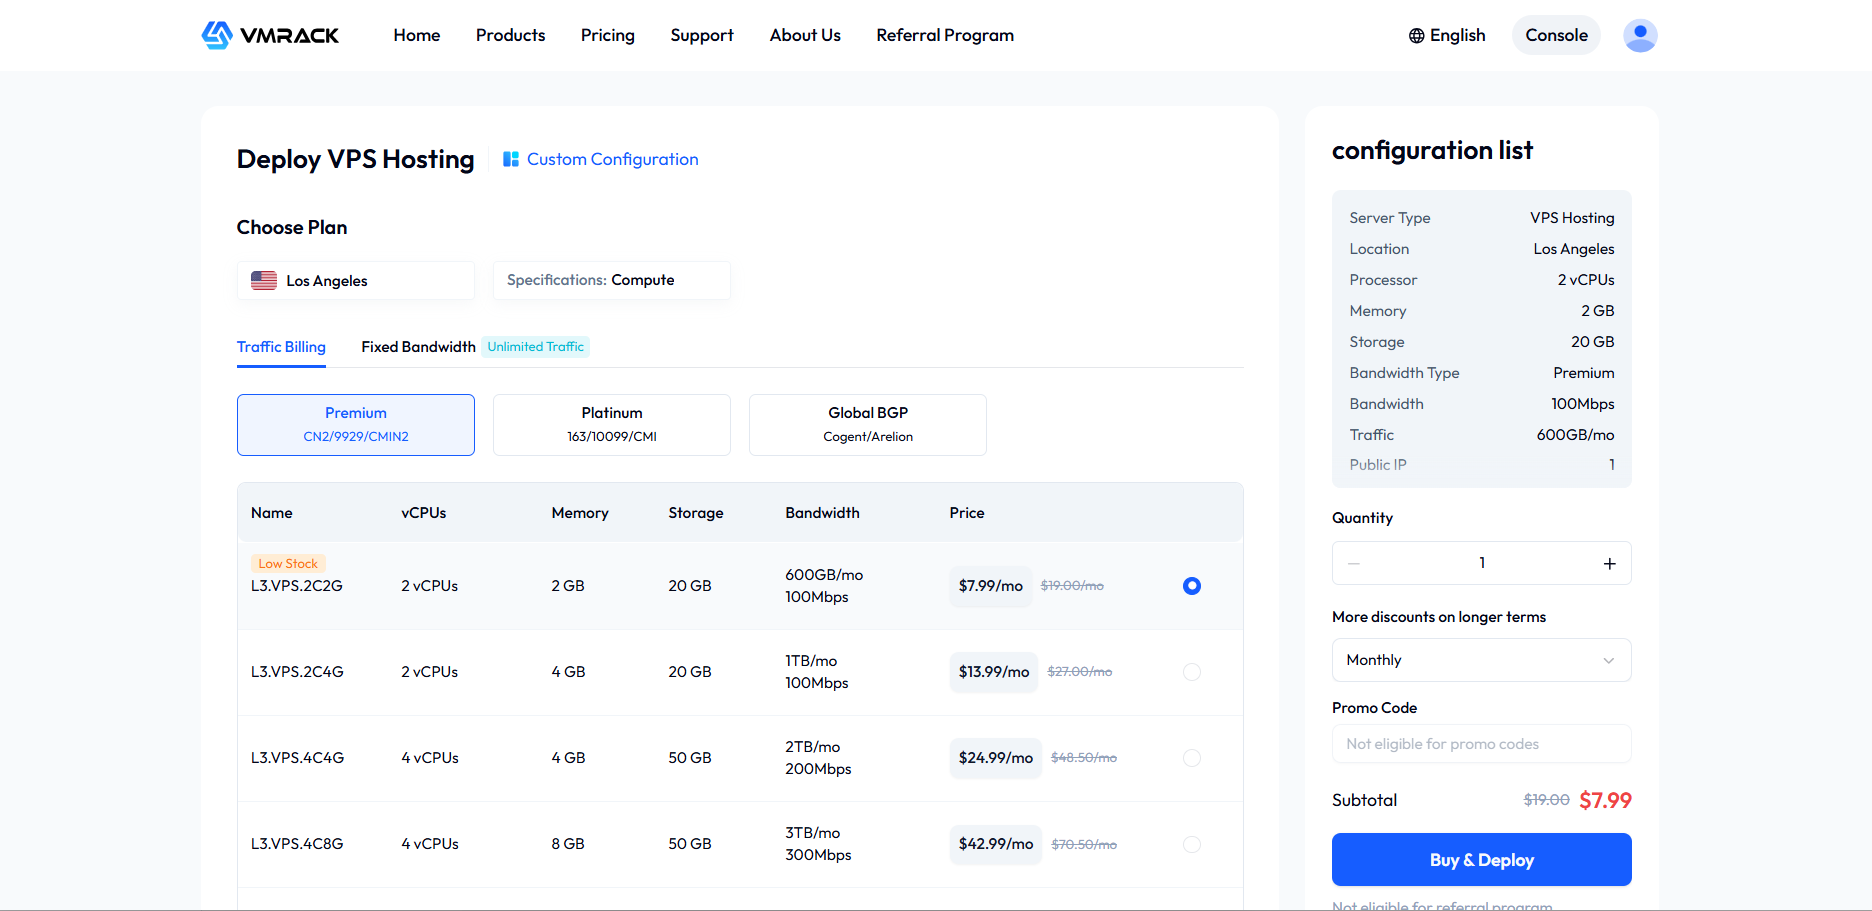
You will see two purchase methods:
Plan Purchase (Recommended for Beginners) The system offers several predefined combinations of CPU, memory, storage, and network. You simply select the plan that best matches your needs and complete the payment quickly. This method is straightforward and ideal for rapidly deploying common scenarios.
Custom Purchase (Recommended for Advanced Users) You have full autonomy to configure every specification of your server step-by-step, allowing you to create the most fitting resource setup for your business needs. This guide will use the Custom Purchase method as an example to explain each step in detail.
During the VPS purchase process, you will encounter the following core options. Please select your configuration based on the guidance below:
Configuration Item | Description & Selection Advice |
|---|---|
Region | The physical location of the server. Choose the region closest to you or your target users for the lowest network latency. |
Plan / Specifications | The combination of CPU and memory.
|
System Disk | Used to install the operating system. Capacity typically ranges from 20-100GB. Note that the system image itself will occupy part of this space. |
Data Disk | Used for storing website files, application data, etc. Plans do not include Data Disks. If additional storage is needed, you can purchase and attach Disks separately. |
Network Bandwidth | A key factor determining server access speed.
|
Image | The operating system you require, for example:
|
Firewall | The system provides a default firewall. After the instance is created, you can manage and configure it via the Firewall menu in the console header. |
Login Credentials | You need to set the authentication method for logging into the server.Please be sure to remember your choice: Set Password: Create a strong password for the system's default administrator account.
Associate SSH Key (Linux instances only): A more secure login method.
|
Confirm Order & Payment: Review all configurations and costs, then complete the payment.
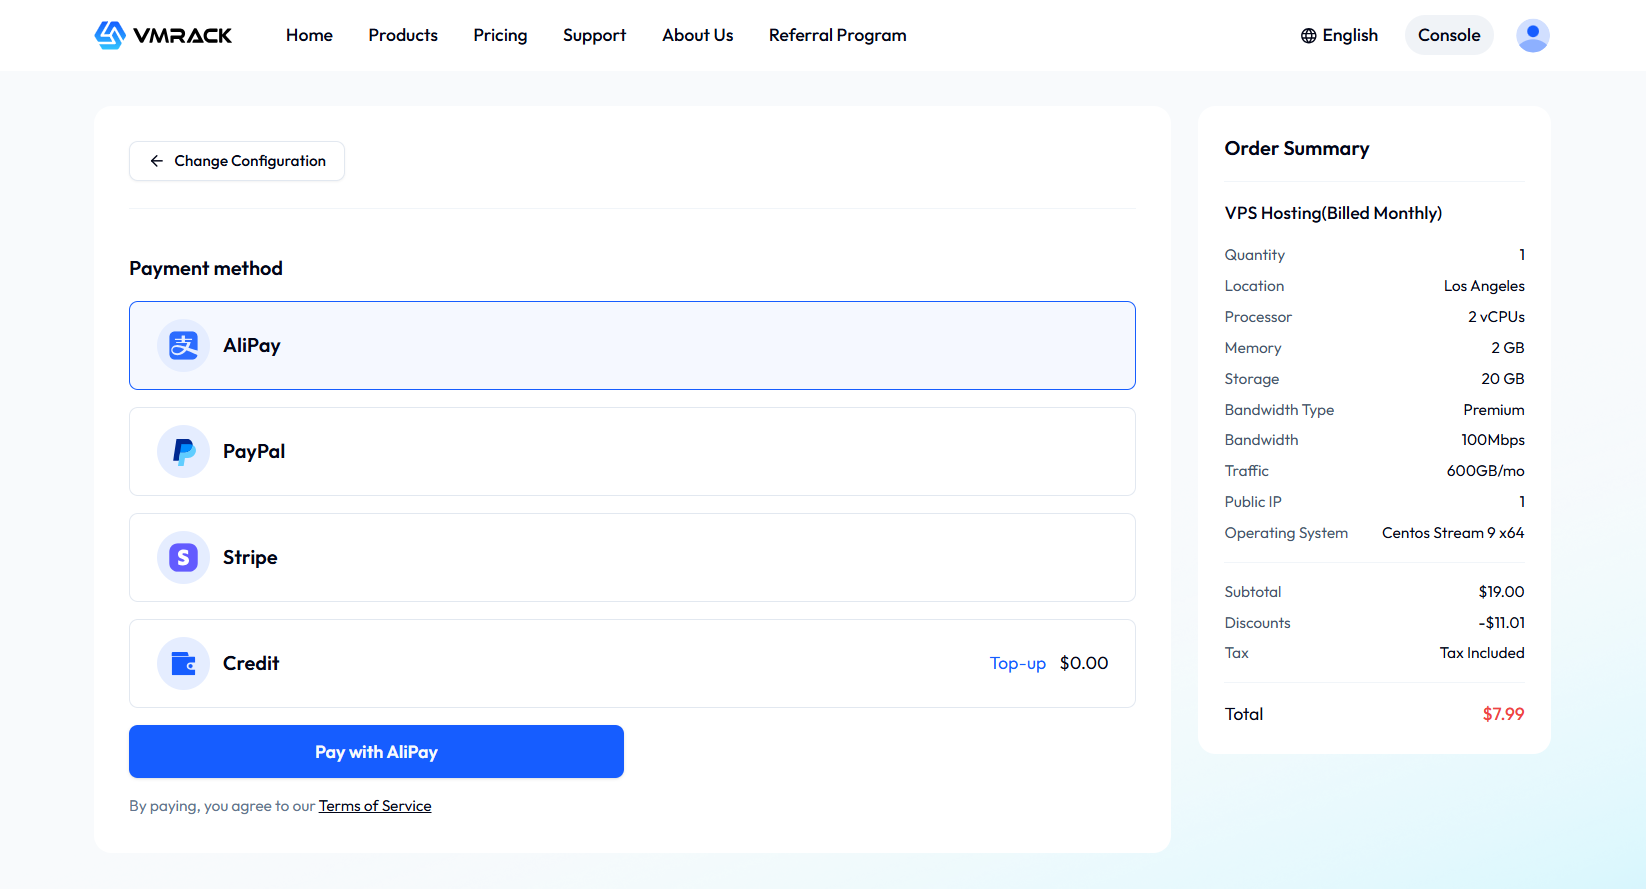
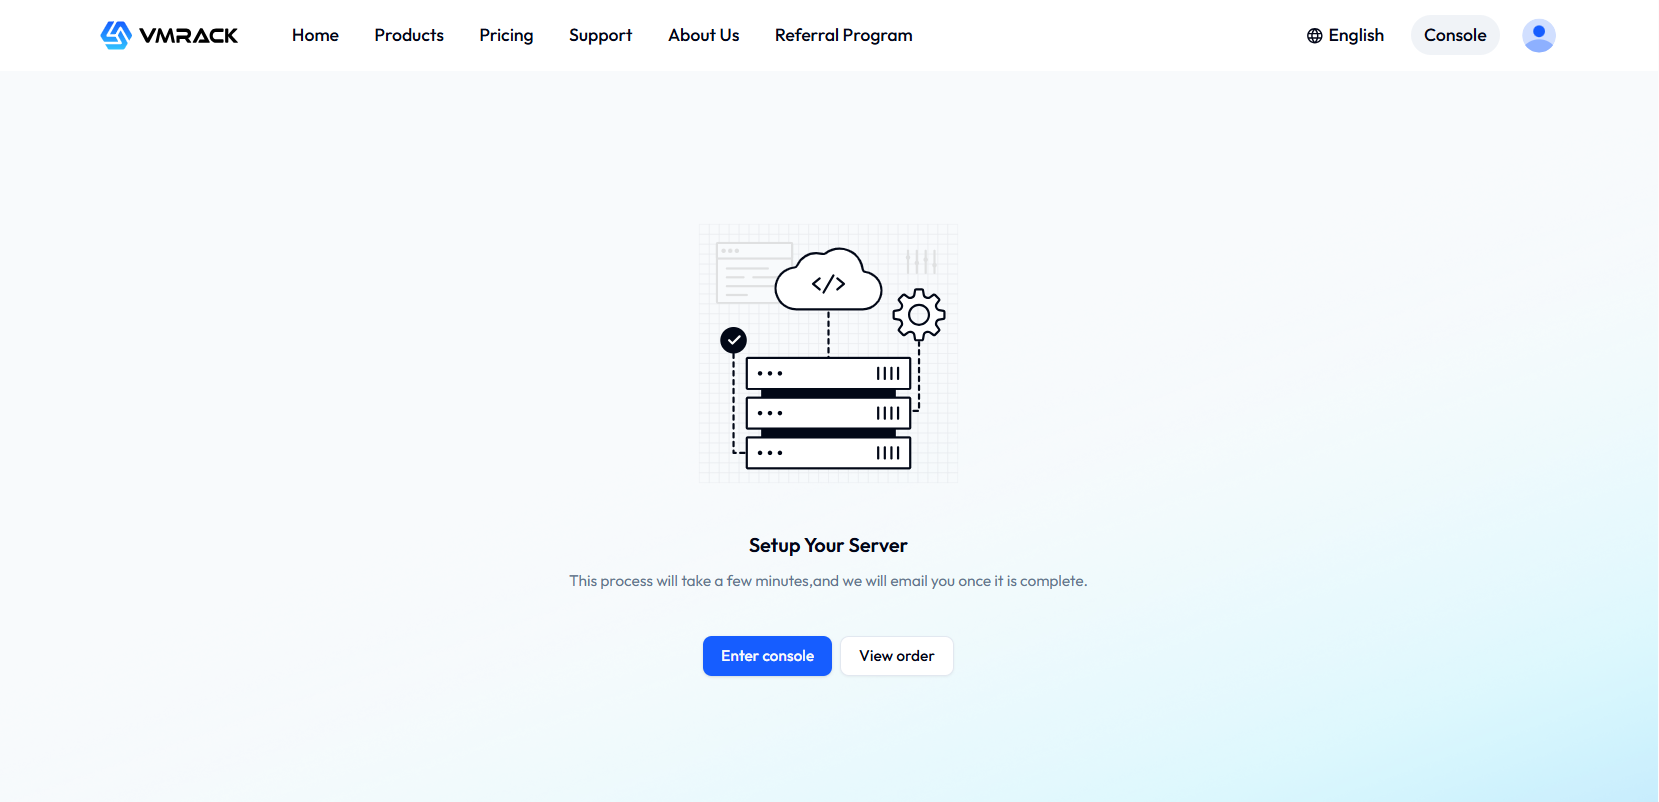
Once your payment is processed, you can proceed to the VPS list in the console to view your instance. The instance is typically provisioned and ready within 1 to 3 minutes.
Connecting to Instance
Once the instance is successfully created, you can try logging into your VPS via the VMRack console and proceed with operations such as website setup based on your actual needs.
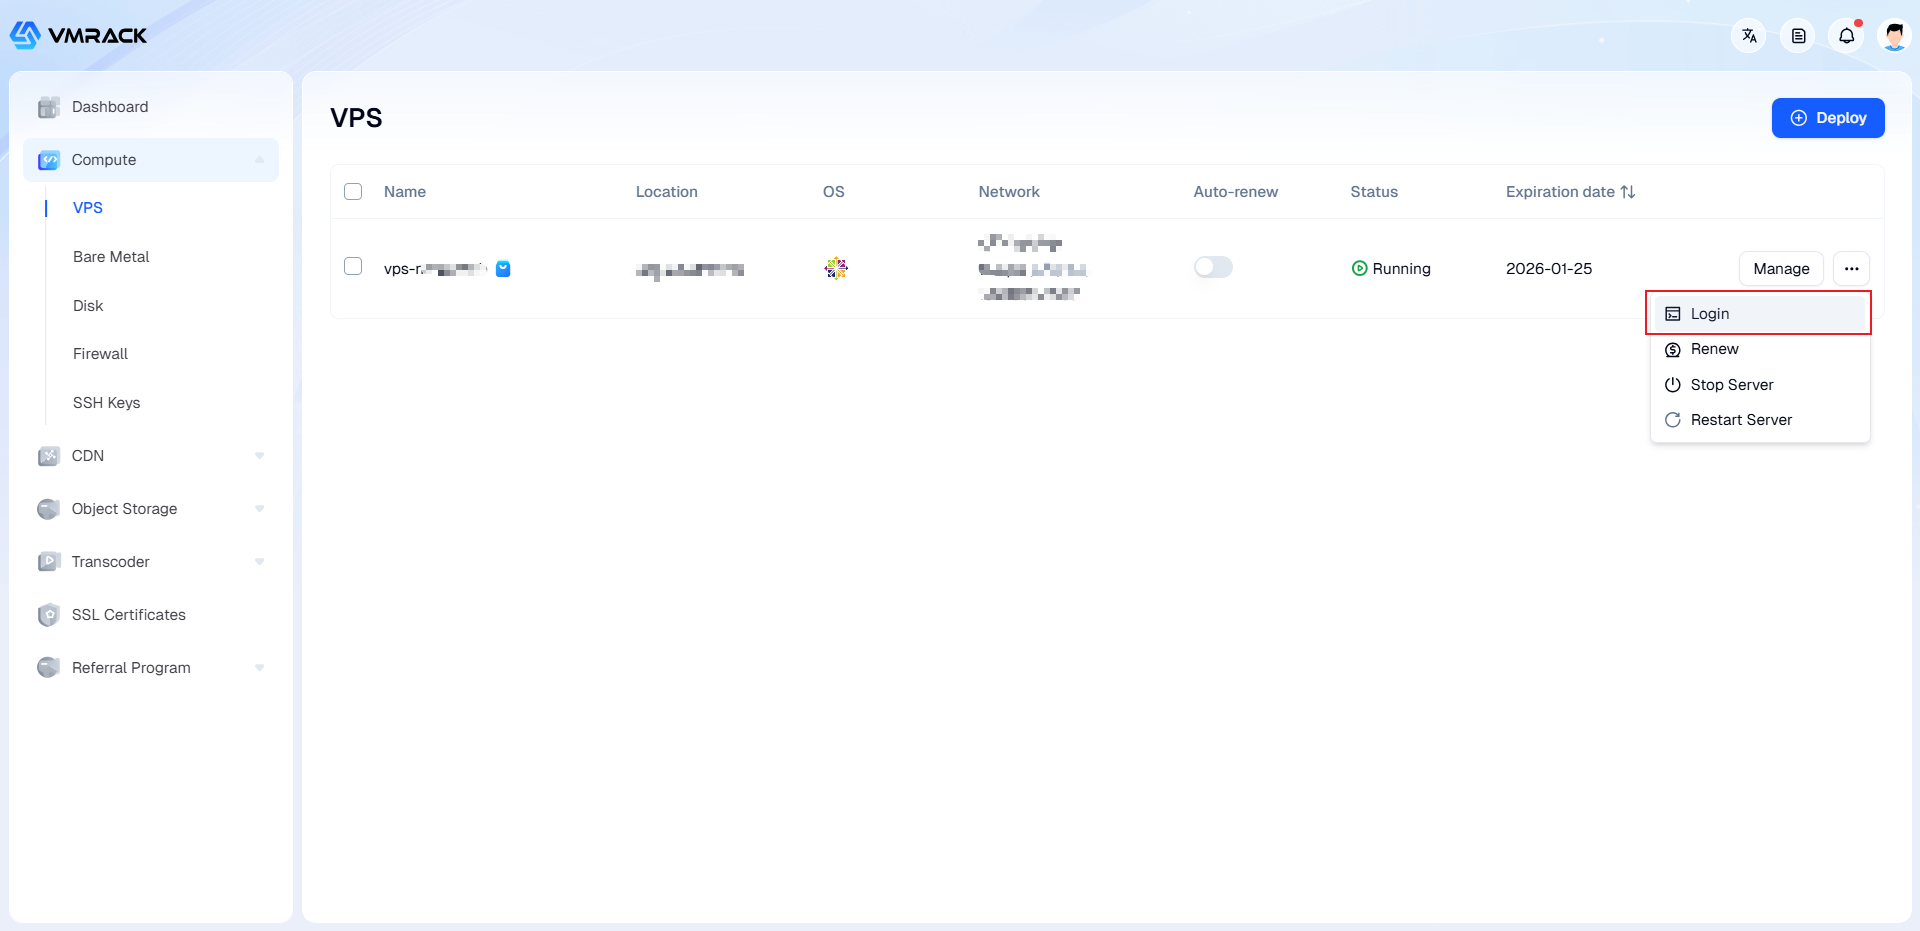
1. Log into the console and navigate to the VPS list.
2. Locate the instance you wish to access and click Log In on the right-hand side, as shown in the image below:
3. In the Log in to Instance dialog box, choose your preferred login method: Password Login or SSH Key Login.
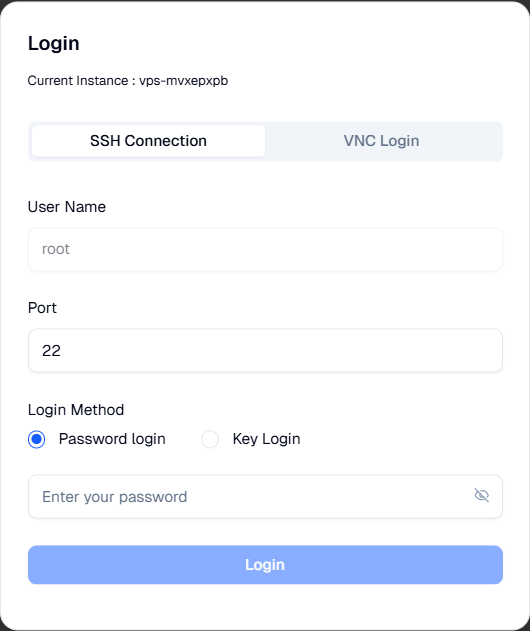
4. Fill in the required login information as explained below:
Port: Default is 22. Modify as needed.
Username: Default is root for Linux instances and Administrator for Windows instances. Modify as needed.
Password: Enter the password you set when purchasing the instance.
Key: Select the SSH key already bound to the instance (for key login).
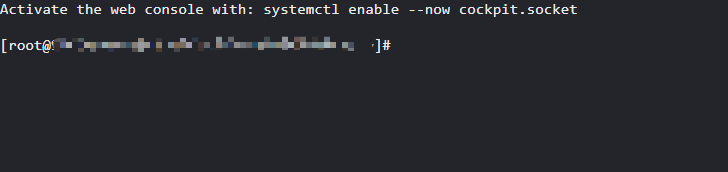
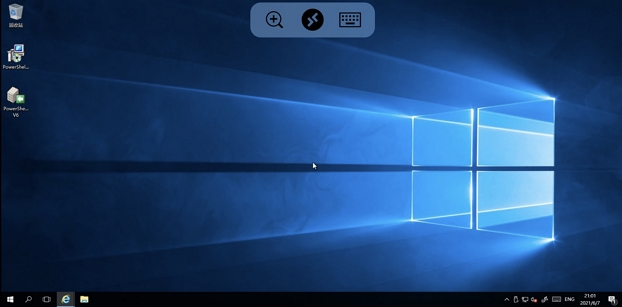
5. Upon successful login, the WebShell interface will display a page similar to the following:
Linux Systems:
Windows Systems:
- Products
- VPS Hosting
- VPS HostingUnmetered
- Bare Metal
- GPU Rental
- CDNPublic Beta
- Custom CDN
- Object StoragePublic Beta
- TranscoderPublic Beta