Detailed Guide to SSH Passwordless Login Configuration!
How Does SSH Passwordless Login Work?
During daily development or remote deployment, having to enter a password every time you connect to a server via SSH can be quite inconvenient. Fortunately, you can solve this problem by configuring SSH passwordless login. Once configured, you no longer need to enter a password when connecting to the server, allowing you to log in remotely with a single command.

SSH passwordless login is, simply put, based on a pair of matching SSH keys generated locally: a public key and a private key. The public key needs to be configured on the cloud server, while the private key is stored on your local computer. When you connect to the server via SSH, the server and your local computer automatically use this key pair for authentication, enabling secure login without entering a password.
Windows SSH Passwordless Login to a Server: Step-by-Step Guide
So, how can you log in to a server via SSH without a password? Next, this article provides a detailed tutorial on configuring SSH passwordless login. Let's go through the process step by step!
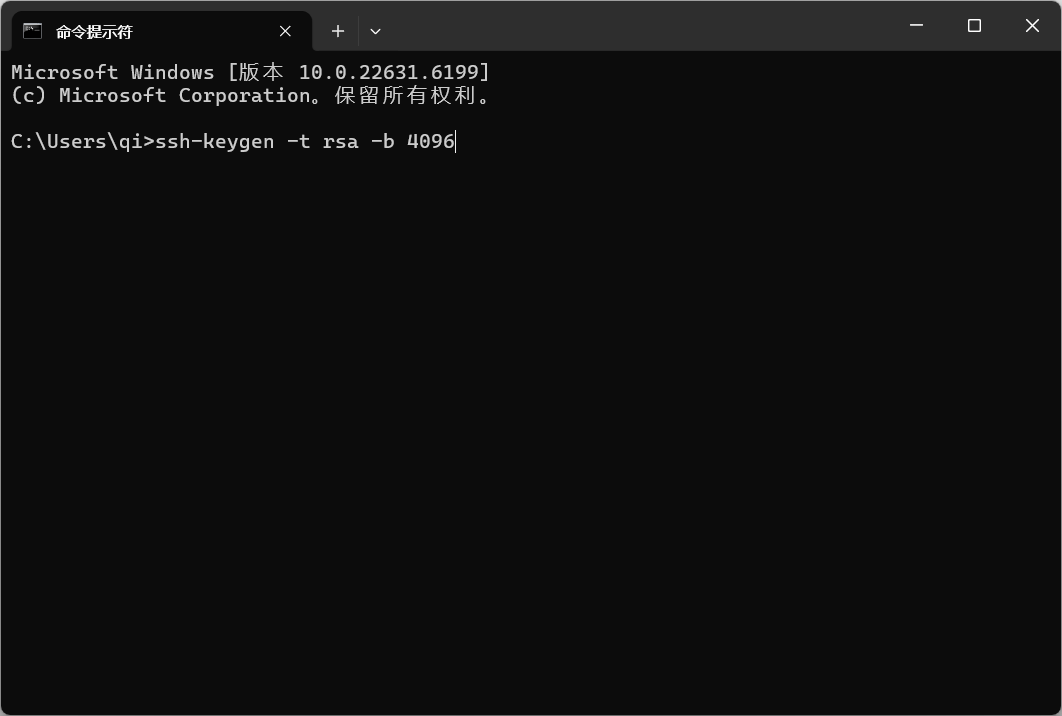
1. Open CMD on your Windows computer, enter ssh-keygen -t rsa -b 4096, and press Enter. This command generates an SSH login key pair using the RSA 4096-bit algorithm.
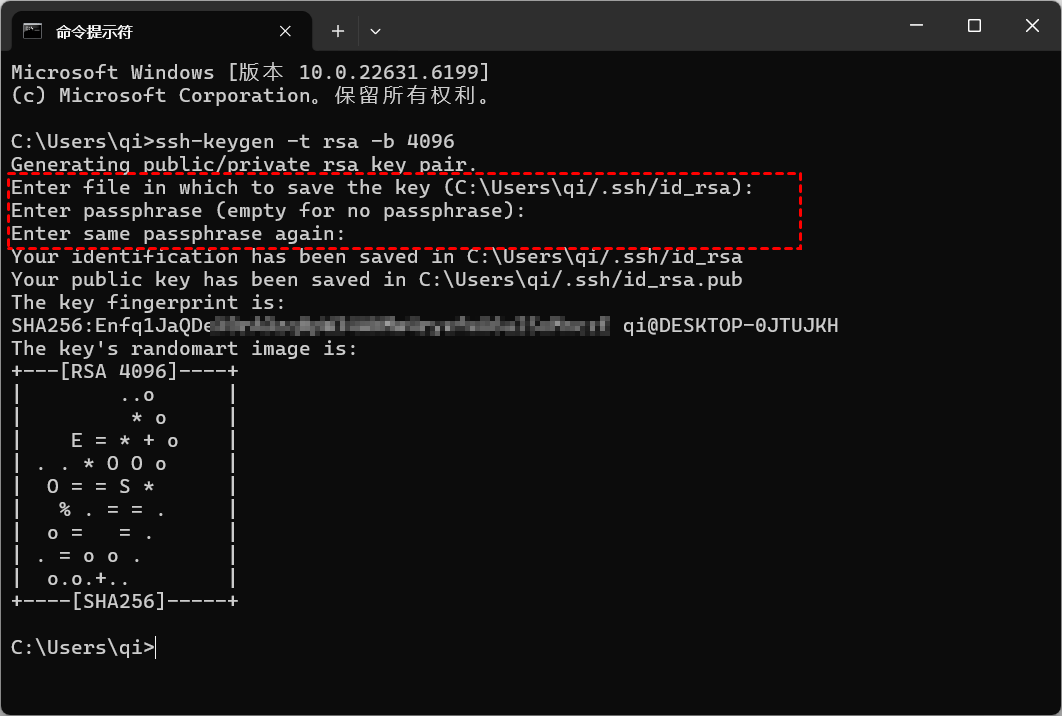
2. During the key generation process, the system will prompt you to set the key storage location and private key passphrase. Simply press Enter twice to use the default settings.
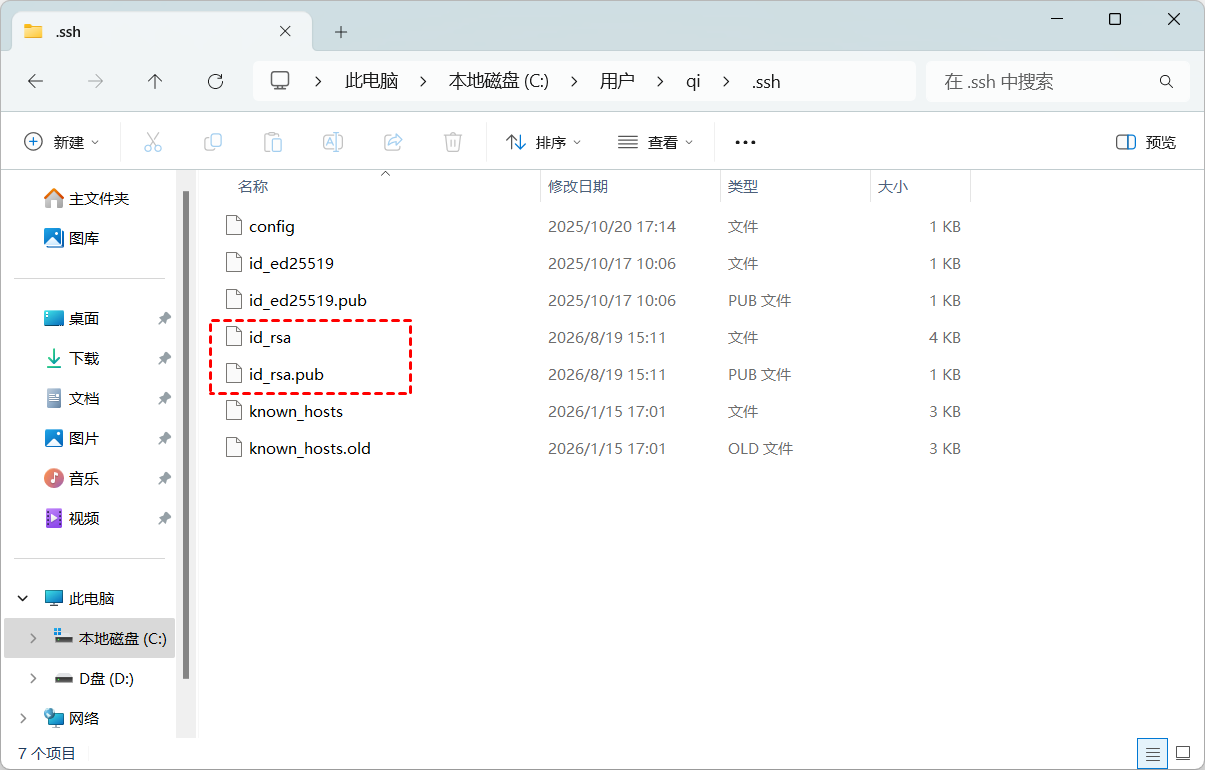
3. After the keys are generated, open the default directory C:\Users\Username\.ssh. You will see two generated files: id_rsa and id_rsa.pub. The id_rsa file is the private key, while id_rsa.pub is the public key. The private key must be kept on your local computer and should never be uploaded or exposed.
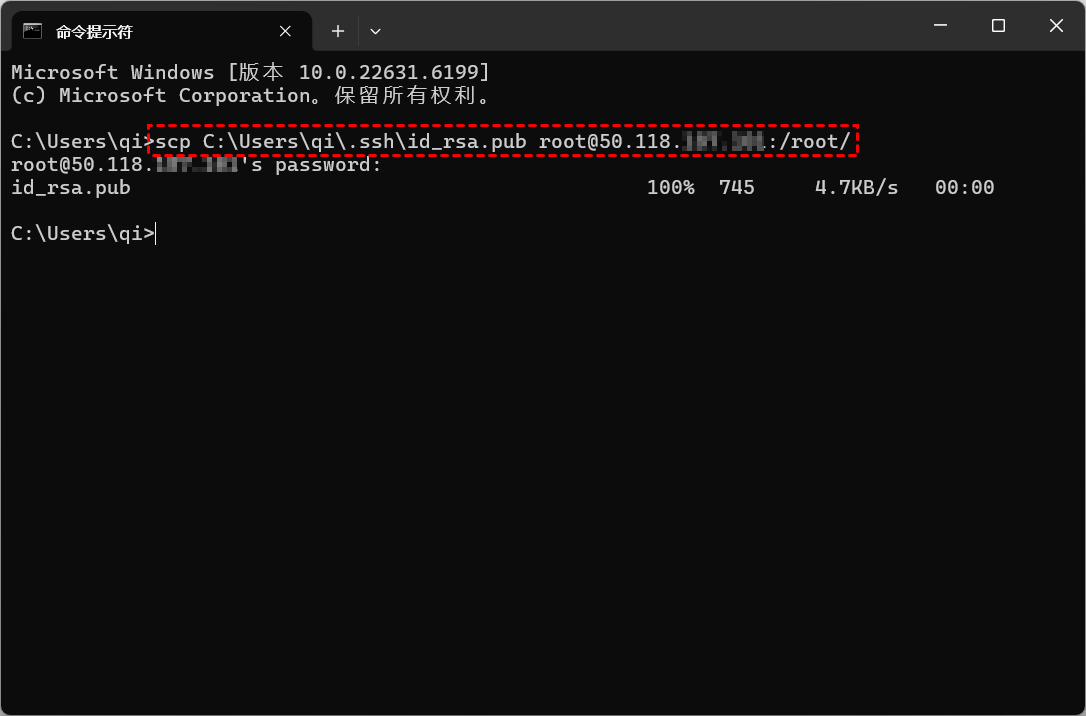
4. Next, run scp C:\Users\qi\.ssh\id_rsa.pub root@50.118..:/root/ in CMD to copy the locally generated public key file to the /root/ directory on the cloud server. When prompted, enter the cloud server login password and wait for the file upload to complete.
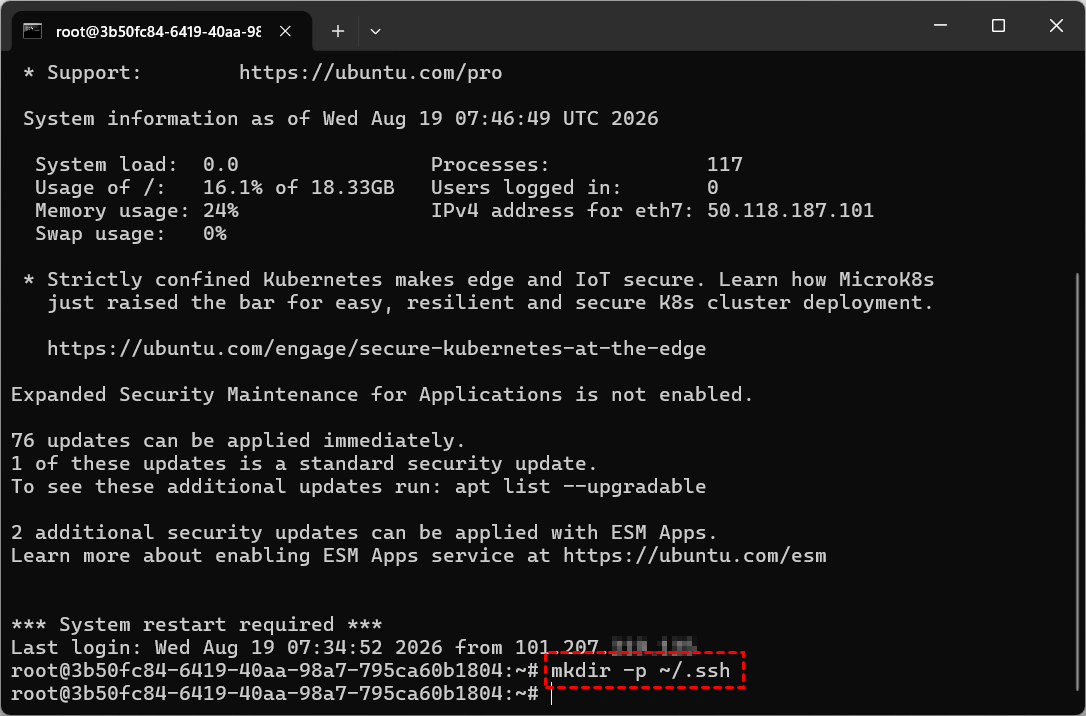
5. After the public key has been uploaded, log in to the cloud server using ssh username@server_IP, then run mkdir -p ~/.ssh to create the SSH key authentication directory.
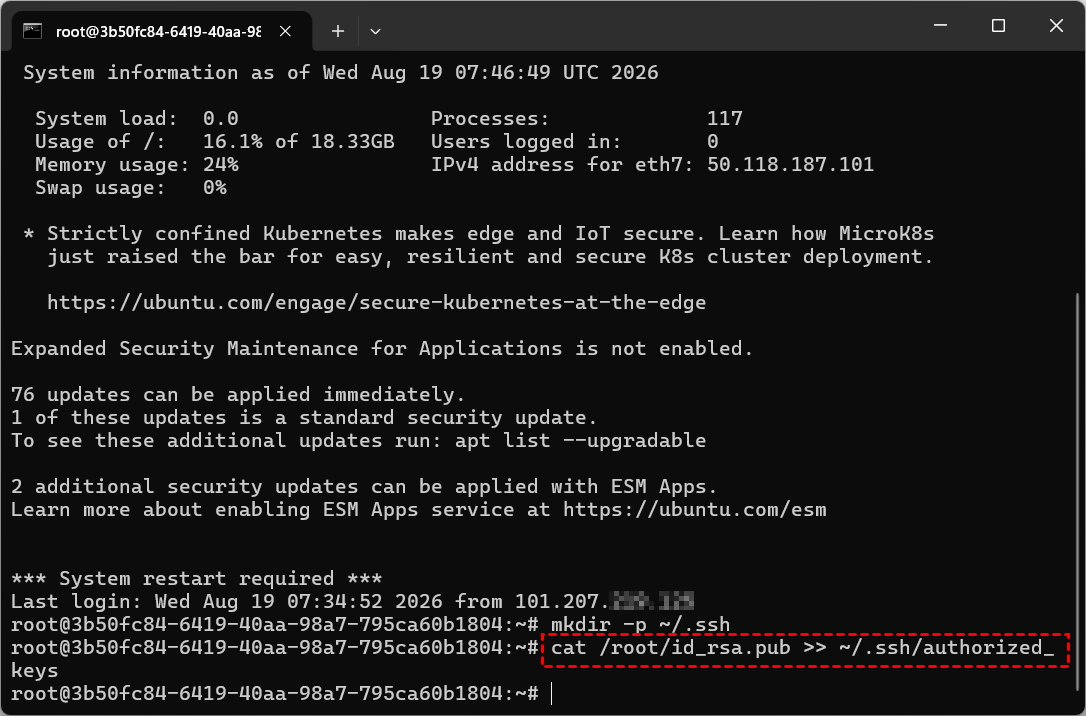
6. Run cat /root/id_rsa.pub >> ~/.ssh/authorized_keys to append the contents of the public key you just uploaded to the authorized_keys file. The SSH service uses the public keys stored in this file to authenticate clients.
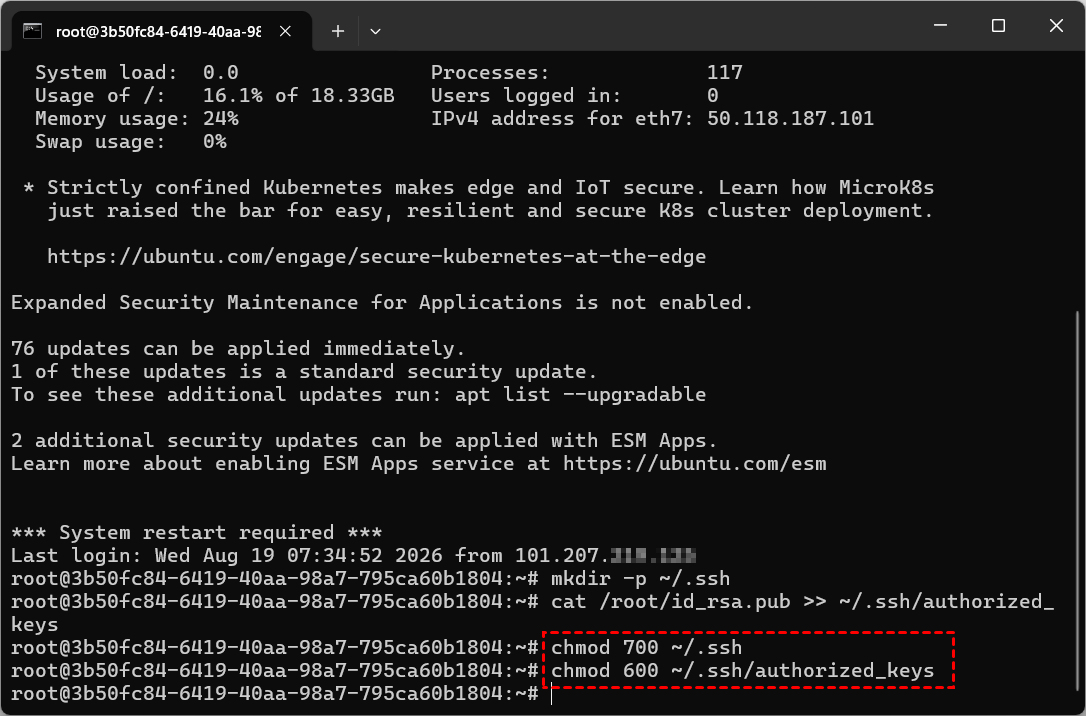
7. To ensure that SSH can properly read the key authentication files, run chmod 700 ~/.ssh and chmod 600 ~/.ssh/authorized_keys in sequence to set the appropriate permissions for the directory and file.
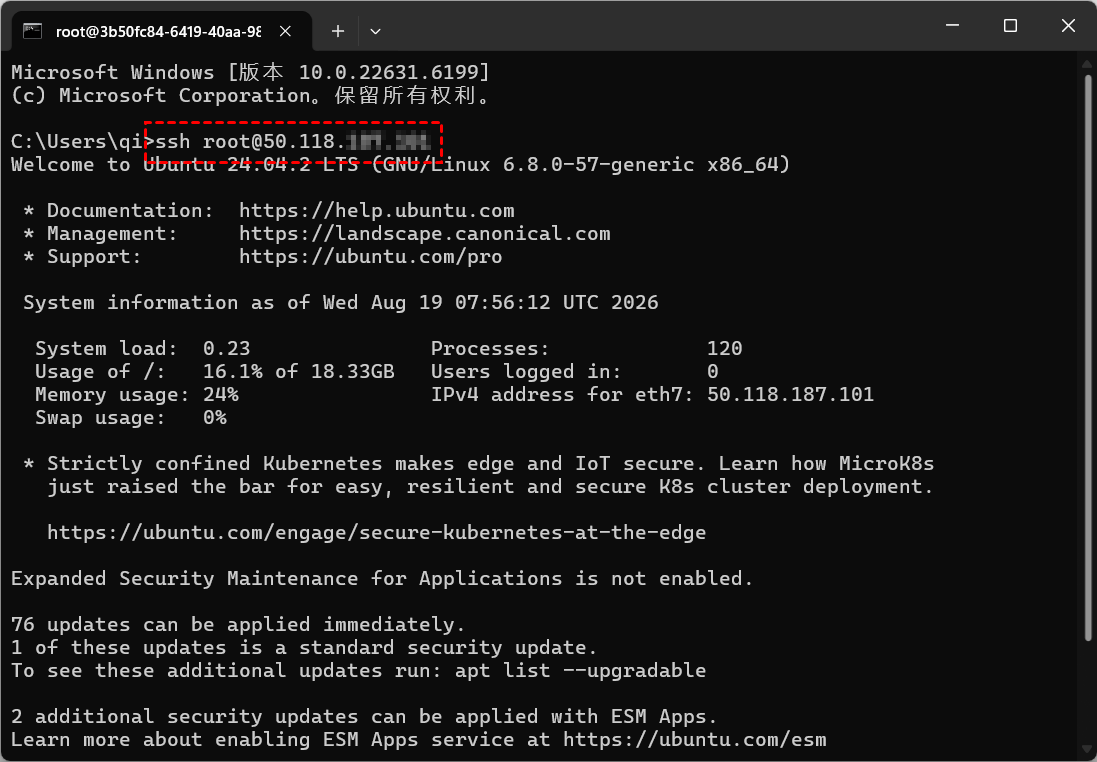
8. After completing the above configuration, exit the current SSH session. When using SSH to remotely connect to a server from Windows CMD, simply run ssh root@50.118.. to connect to the server with a single command.
SSH passwordless login can be configured not only by generating SSH keys manually with ssh-keygen in Windows CMD. Many cloud service providers also support generating or configuring SSH keys directly when creating a cloud server. For example, VMRack.
VMRack provides an SSH Key feature that integrates key configuration into the cloud server creation process, eliminating the need to manually generate, upload, and configure the public key. This makes SSH login easier while providing better security than traditional password-based authentication.
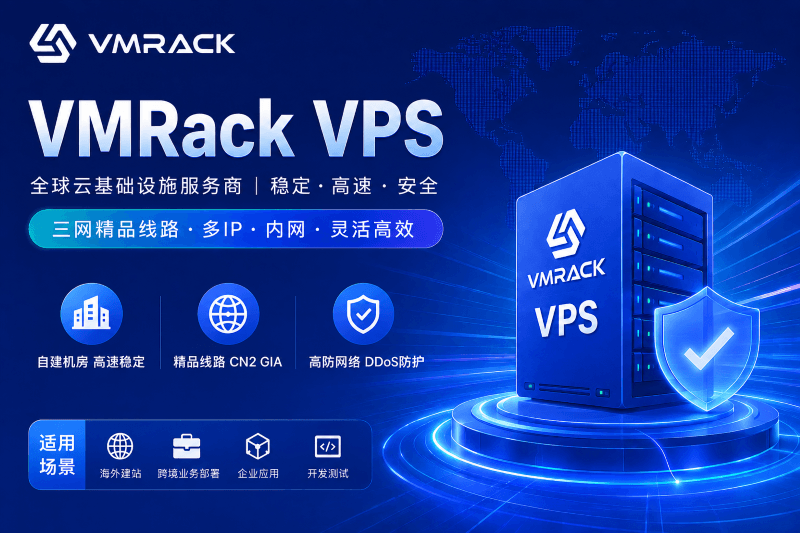
VMRack is a global cloud infrastructure provider offering cloud servers with premium network routes such as CN2 GIA, AS9929, and CMIN2, as well as CDN, Object Storage, Cloud Transcoding, and other services, covering a wide range of deployment scenarios for enterprises and developers. In addition, VMRack provides features such as multiple IP addresses, private networking, and DDoS protection, further improving network deployment, security, and resource scalability.
Conclusion
SSH passwordless login primarily uses a public key and private key for authentication. Once configured, you no longer need to enter a password every time you connect to the server. Windows users can manually generate and configure SSH keys by following the steps in this article. If the cloud service provider offers an SSH key feature, the configuration process can be simplified even further, making server deployment and remote management more convenient.

- Products
- VPS Hosting
- VPS HostingUnmetered
- Bare Metal
- GPU Rental
- CDNPublic Beta
- Custom CDN
- Object StoragePublic Beta
- TranscoderPublic Beta